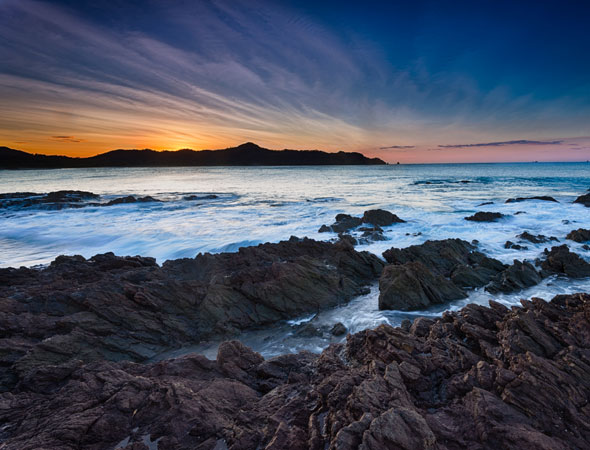
| The Golden Hour is the first hour of light after sunrise and the last hour of light before sunset. The lighting is ideal for taking pictures of anything from landscapes to portraits. With the sun low in the sky, it gives a soft, diffused, golden light which enhances the vibrancy of colours in pictures and gives them more depth. The diffused light results in less contrast which means there will be less chance of losing parts of the image in shadows that are too dark or losing parts in the highlights that are too bright. This is especially true when the sun is in front or slightly to the side of the subject and behind the photographer. When taking pictures of sunsets and shooting into the sun, there are tools that need to be used to hold back the brightness of the sun and bring up the lightness in the shadows.
The Blue Hour precedes the golden hour in the morning and follows it in the evening. Despite it’s name the duration of the blue hour is usually about 30 minutes. This is the period of twilight when there is neither full daylight nor complete darkness and the light is a strong blue tone. Since there is not enough light for portraits without an additional light source, the quality of light during this time is ideal for landscape and cityscape pictures. The amount of light during the blue hour is minimal, bringing the contrast between the shadows and highlights even closer together. Shooting handheld during this time is probably not going to work, since shutter times are long in order to grab every bit of available light to properly expose the scene. Post processing images taken during the blue hour allow much more freedom in enhancing colours in the images. |
SV photo | 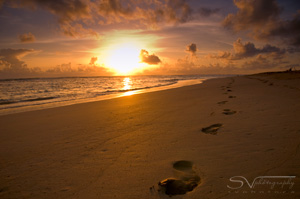 A typical golden hour photo with the sun low in the sky and the rich golden tones  During the blue hour, the sun has already set, and the light takes on a distinct blue tone |

The Ghost on the Beach
Nikon D800 w/ 16-35 f/4 @ 16mm, ISO 100, 30 sec at f/8
One of the benefits of taking pictures during the blue hour is most people have packed it in for the day after the sun is gone. In this photo a man was standing in the middle of the frame when the shutter opened. He left soon after when a large wave came in, leaving a distinct ghost appearance which makes the picture more interesting.
There was a time where I felt that taking sunset and sunrise pictures was rather cliché. As a young child those were the first pictures I readily took because it was so easy. And watching the sunset from a great vantage point, one doesn’t have to look too far to see many others taking pictures of the same sunset, using anything from cellphones and point and shoots to SLRs. I got the feeling that everyone else is doing it, so why should I? And I didn’t want sunset and sunrise pictures to fill my portfolio and define me as a photographer.
But a while ago I rekindled my passion for taking sunset and sunrise pictures by changing my approach to these breathtaking twice-a-day occurrences. I embraced it as a challenge to get a quality image, one worthy of sharing with others and one that compliments my portfolio instead of defines it.

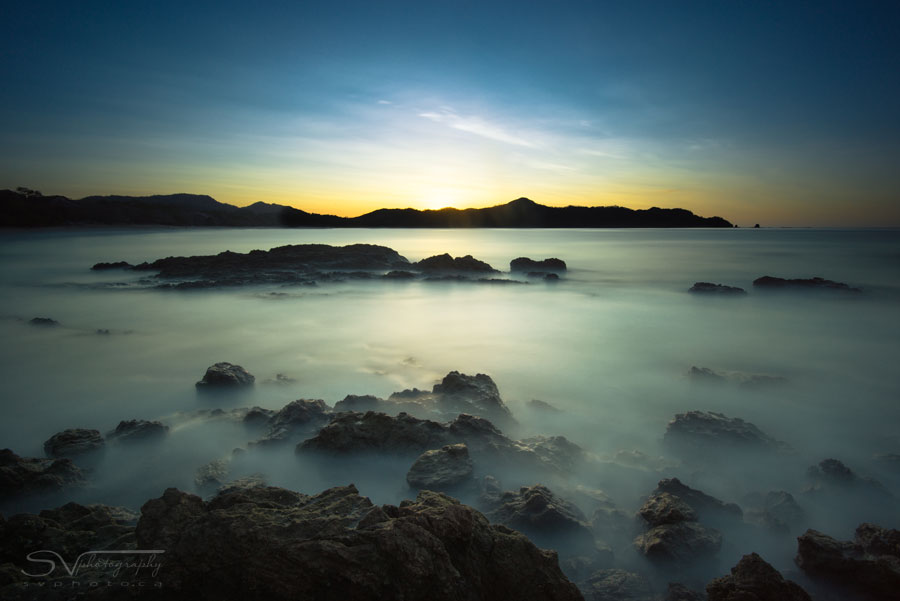
The End of the Golden Hour
Nikon D800 w/ 16-35 f/4 @ 20mm, ISO 100, 50 sec at f/16
This picture was taken just after the sun had set and was still colouring the sky in a strong golden hue. It was a little underexposed as there were parts of the image lost in the shadows but the silhouette effect works once and a while.
Every sunset and sunrise is unique and how it’s captured will differ from person to person as well. Give two people a brush, point to a canvas and they will paint very different pictures. With all the different variables that come into play when taking pictures, give two people a camera and point to the sunset, they are bound to capture very different images. It’s not an exact science and that’s what I love about it.
One of the most important variables that can be controlled is the composition. Something interesting should be in the foreground to add depth to the scene. Perhaps it’s a field of blooming flowers, an unusual looking tree, a pier, or maybe some rocks in the ocean. Another consideration is how much sky to include in the picture. If there is a spectacular cloud formation lit brilliantly by the sun, two thirds of the frame might be filled with the sky. On the flip side, if there is no cloud coverage to speak off, then most of the frame might be dedicated to the foreground instead.
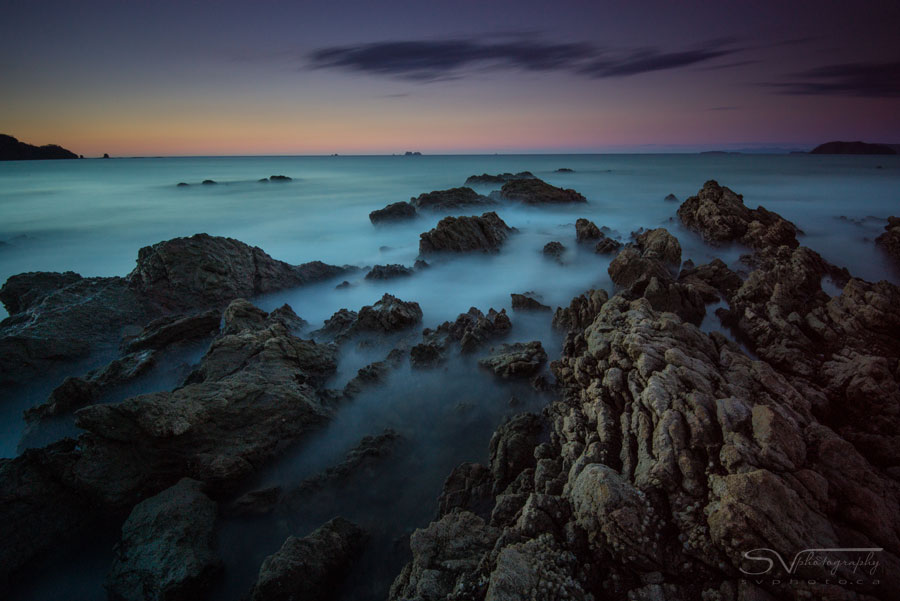
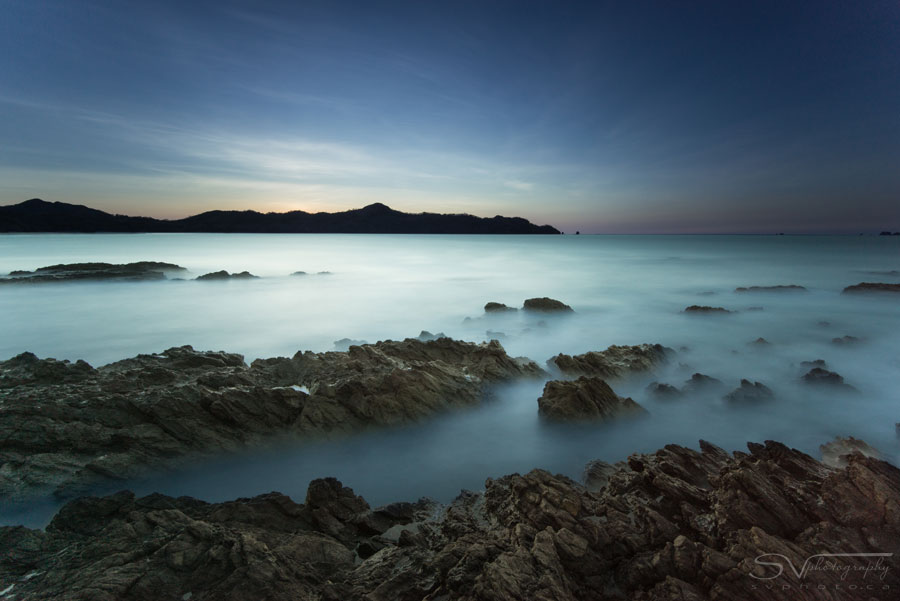
The Blue Hour
Nikon D800 w/ 16-35 f/4 @ 20mm, ISO 400, 240 sec at f/16
This evening, other than the one cloud, the sky wasn’t all that interesting, so more of the frame was dedicated to the rocks in the foreground.
Some variables change from season to season, from day to day, and sometimes even from minute to minute at a location. Cloud coverage, or lack there of, can completely change the feel of a picture. The time of year changes where the sun will rise and set. Even the amount of wind can come into play if wanting to take a long exposure of something that moves with the wind. If water is in the picture, the waves and tide will have an affect as well.
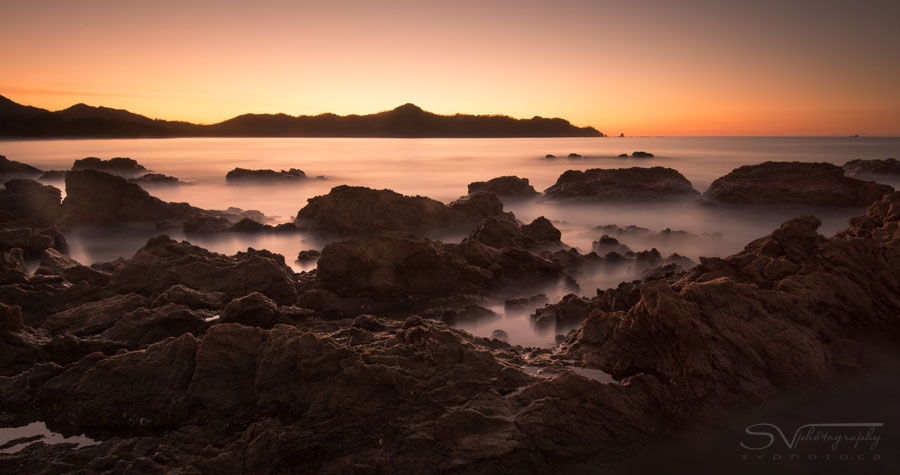
The Golden Hour Ends
Nikon D800 w/ 16-35 f/4 @ 16mm, ISO 250, 180 sec at f/16
A long exposure picture with just enough definition in the shadow areas and the strong golden hue in the sky captured just after the sun has set.
The Ocean of Serenity
Nikon D800 w/ 16-35 f/4 @ 16mm, ISO 200, 134 sec at f/16
A picture taken from almost the same spot as the picture above but with a completely different look due to the higher tide and because it was well into the blue hour rather than at its beginning.
Then there is the equipment and in-camera tools. It might be bracketing pictures, commonly referred to as HDR (High Dynamic Range), which is quite simply taking a number of pictures of the same scene with varying exposures and merging them together in post processing software.

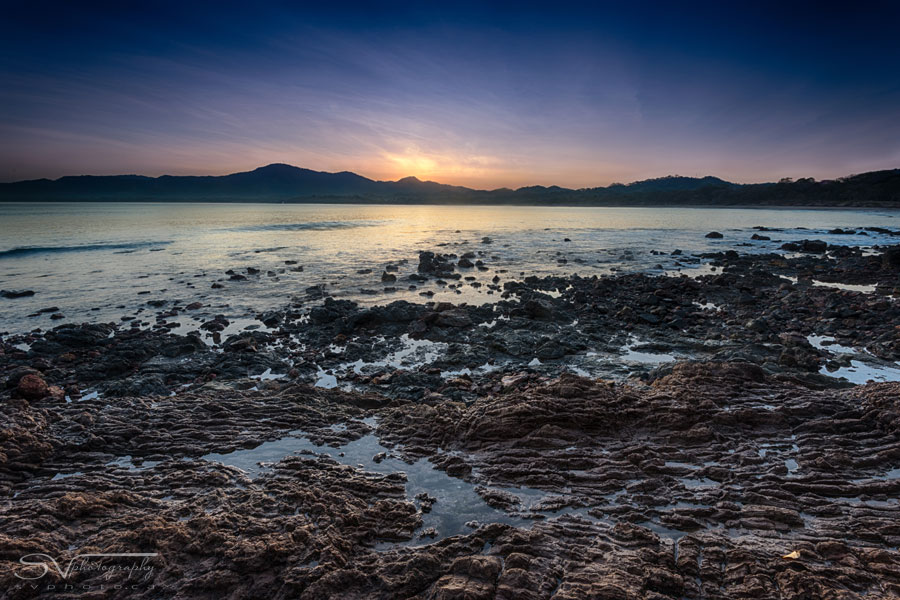
Sunrise at Playa Conchal, Costa Rica
Nikon D800 w/ 16-35 f/4 @ 16mm, ISO 100, 1/13, 1/6, 1/3, 0.6 sec at f/16
I was quite excited to see some intriguing cloud formations on the evening this picture was taken. I had forgotten my filter holder so long exposure shots were out of the question and instead I took this HDR image composed of four images just after the sun had set, capturing my best sun shot of the trip.
Maybe it’s using neutral density graduated filters (ND grads) and reverse grads used to hold back the brightness of the sky and the sun, which allows you to capture the scene in a single exposure. Or perhaps it’s using a neutral density filter that holds back all the light hitting the sensor (think sunglasses for your camera) allowing for long exposures which make clouds look wispy and water, misty.
 Point Horizon |
s |  Point Horizon LE |
Day’s End
Nikon D800 w/ 16-35 f/4 @ 16mm, ISO 100, 360 sec at f/16
Sometimes it’s good to bring along something to occupy your time while waiting for an exposure to complete. This was taken with using Lee Filters Big Stopper, a 10 stop ND filter, resulting in a six minute exposure taken just after the sun had set.
Bracketing pictures, using filters, or even combining the two, will result in an image both different and unique.
Lastly, the post processing is going to make a picture come alive. Personally, I use LightRoom as a starting point for editing, cropping, sharpening, and enhancing my images and do any fine tuning in Photoshop. There are multiple solutions for HDR, such as Photoshop, Photomatix Pro, and Nik Software HDR Efex, the latter of which has given me the best results.

The End of the Blue Hour
Nikon D800 w/ 16-35 f/4 @ 16mm, ISO 400, 1/50, 1/30, 1/20, 1/13, 1/8 sec at f/16
An HDR image composed of four images merged together captured just before sunrise.
Stationary Pools
Nikon D800 w/ 16-35 f/4 @ 16mm, ISO 400, 1/13, 1/8, 1/5, 1/3 sec at f/16
This is an HDR image composed of four images taken at sunrise just before the sun was about to rise, composed with stationary pools left by the receding tide in the foreground.
Except for the first two, the images seen here were taken during a stay in Playa Conchal, Costa Rica. Each morning I was up before twilight taking pictures and doing it all over again each evening from the golden hour to the end of the blue hour, the perfect bookends to a day. And while what appears in the background and foreground of the pictures might be consistent from picture to picture, there is a large difference in the end result. Some days I might have ended up in the same spot as the day before but the resulting picture looked completely different because the composition had changed, the equipment I used was different, or the weather conditions (clouds/tides/waves) were different from the previous day. You will also notice the lack of sun in all the pictures, clear evidence that these are taken in the Blue Hour instead of the Golden Hour. My favourite time to take sunrise/sunset pictures is at the end of the blue hour just before the sun rises in the morning or at the beginning of the blue hour just after the sun has set in the evening, when the sun is below the horizon but still lighting the sky in different colours and hues. It’s a magnificent time to be out taking pictures and you never know, you might end up with a gem.
Related Posts
Animals in Costa Rica
Lava Gate—The Costa Rican Volcano Conspiracy
Waterfalls and Rivers in Costa Rica
Share this Post